Honey and Oatmeal Soap for Sensitive Skin: Step-by-Step Recipe
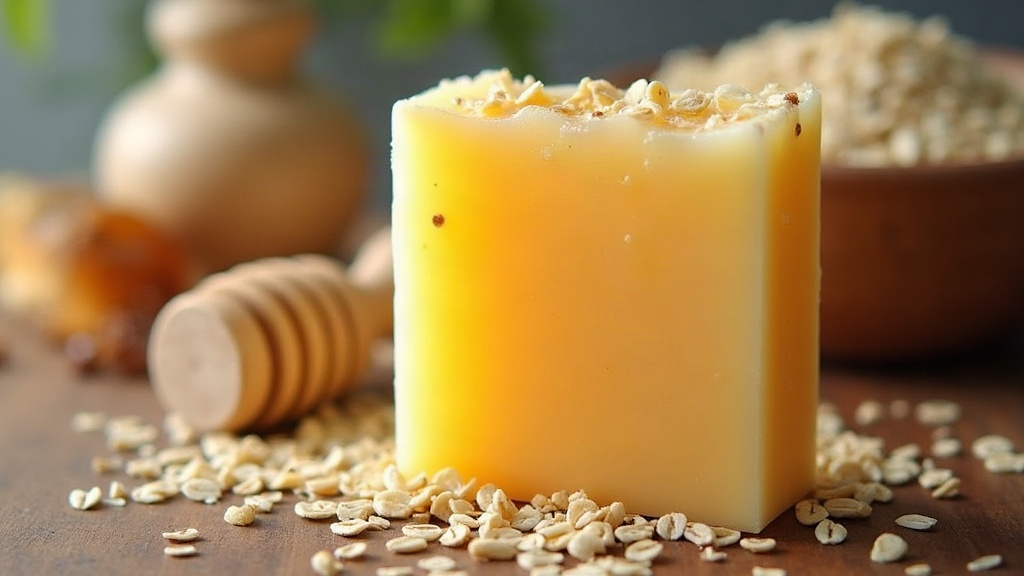
If you deal with dry, itchy, or easily irritated skin, a homemade honey and oatmeal soap might just become your new favorite thing in the shower. This recipe pairs raw honey’s anti-inflammatory and moisture-drawing properties with the soothing, barrier-repairing power of colloidal oatmeal. The result? A mild, genuinely moisturizing bar that even the most reactive skin types can tolerate well.
Why Honey and Oatmeal Work So Well Together
People have leaned on these two ingredients for centuries to calm angry skin, and modern dermatology has pretty much confirmed what grandmothers already knew.
- Honey is a natural humectant. That means it pulls moisture out of the air and into your skin, keeping it hydrated longer. It also carries mild antibacterial and antioxidant properties that help calm redness and speed up healing.
- Oatmeal, specifically colloidal oatmeal (ground down to a fine powder), contains compounds called avenanthramides. These reduce inflammation and itching, which is exactly why you’ll find oatmeal in so many eczema and sensitive-skin products on pharmacy shelves.
Put them together and you get a soap that cleanses without stripping away your skin’s natural oils. That’s not a minor detail, either. For anyone dealing with sensitivity, chronic dryness, eczema, or psoriasis, that one factor can make or break a product.
Two Methods: Melt-and-Pour vs. Cold Process
If you’ve never made soap before, start with melt-and-pour. It’s quicker, safer, and skips the whole lye-handling headache entirely. Once you’ve got some practice under your belt, cold process opens the door to a fully customizable bar built from scratch.
Method 1: Melt-and-Pour (Beginner-Friendly)
Ingredients:
- 2 lbs goat milk or shea butter melt-and-pour soap base
- 3 tablespoons raw honey
- 3 tablespoons colloidal oatmeal (finely ground oats)
- 1 tablespoon sweet almond oil or jojoba oil
- 10-15 drops lavender or chamomile essential oil (optional, use skin-safe dilution)
- Soap mold (silicone works best)
Instructions:
- Cut and melt the base. Chop the soap base into cubes and melt it in a double boiler, or microwave it in 30-second bursts, stirring between each round so it doesn’t scorch.
- Add the oatmeal. Once it’s fully melted, stir in the colloidal oatmeal thoroughly. You want it suspended evenly through the mixture, not clumped at the bottom of your mold.
- Mix in honey and oil. Add the honey and almond oil, stirring gently. Go easy here, aggressive stirring just creates a bubbly mess you’ll have to deal with later.
- Scent it (optional). If you’re using essential oil, this is the moment. Stir once more to distribute it.
- Pour into molds. Pour the mixture into your silicone mold and tap it gently against the counter a few times to knock out air bubbles.
- Cool and unmold. Let it set at room temperature for 1-2 hours, or stick it in the fridge for 20-30 minutes if you’re impatient (most of us are). Once firm, pop the bars out.
Method 2: Cold Process (For Experienced Makers)
Cold process soap involves sodium hydroxide (lye), full stop, and you should only try this with gloves, goggles, and a well-ventilated space. No shortcuts here.
Basic ratios:
- Use your favorite base oil recipe (olive oil, coconut oil, and shea butter is a common combo)
- Add 1 tablespoon of honey per pound of oils, mixed in at light trace so the batch doesn’t overheat
- Add 1-2 tablespoons of ground oatmeal per pound of oils, also at trace
- Cure the bars for 4-6 weeks before use, same as with any standard cold process soap
One thing worth knowing: honey speeds up trace and can make your batch heat up fast, soapmakers jokingly call this “volcano soap.” Add it slowly, and keep a close eye on temperature so you don’t end up with a lava situation on your counter.
Tips for the Best Results
- Grind your oats finely. Whole or rolled oats feel like sandpaper once they’re in a bar of soap. Run them through a coffee grinder or food processor until you get a fine, skin-friendly powder.
- Use raw, unfiltered honey. It holds onto more of the enzymes and antioxidants that get stripped out during heavy processing. The cheap squeeze-bottle stuff from the supermarket just won’t give you the same benefit.
- Skip synthetic fragrances. Stick with gentle, skin-safe essential oils, or leave scent out entirely if your skin tends to react to anything.
- Patch test first. Natural doesn’t always mean risk-free. Dab a small amount on your inner arm and wait 24 hours before committing to a full wash with it.
How to Store and Use Your Soap
Keep your bars in a cool, dry spot out of direct sunlight, this preserves both texture and scent far longer than you’d expect. Honey and oatmeal soaps also tend to be softer than the commercial bars you’re used to, so a draining soap dish really does extend their life between uses. Leave one sitting in a puddle of water and you’ll watch it dissolve into mush within a week.
Use it daily as part of your normal routine. Rub it in gentle circular motions so the oatmeal can do its light exfoliating work while the honey hydrates and soothes underneath.
Conclusion
Making your own honey and oatmeal soap is a simple way to take care of sensitive skin without reaching for harsh chemicals or synthetic fillers. Pick the quick melt-and-pour route on a lazy Sunday afternoon, or commit to a fully customized cold-process batch if you’re ready for the challenge. Either way, you’ll end up with a gentle, nourishing bar that calms irritation, locks in moisture, and actually feels good on even the most delicate skin.