Beeswax & Coconut Oil Tealight Recipe Without Paraffin (Easy DIY)
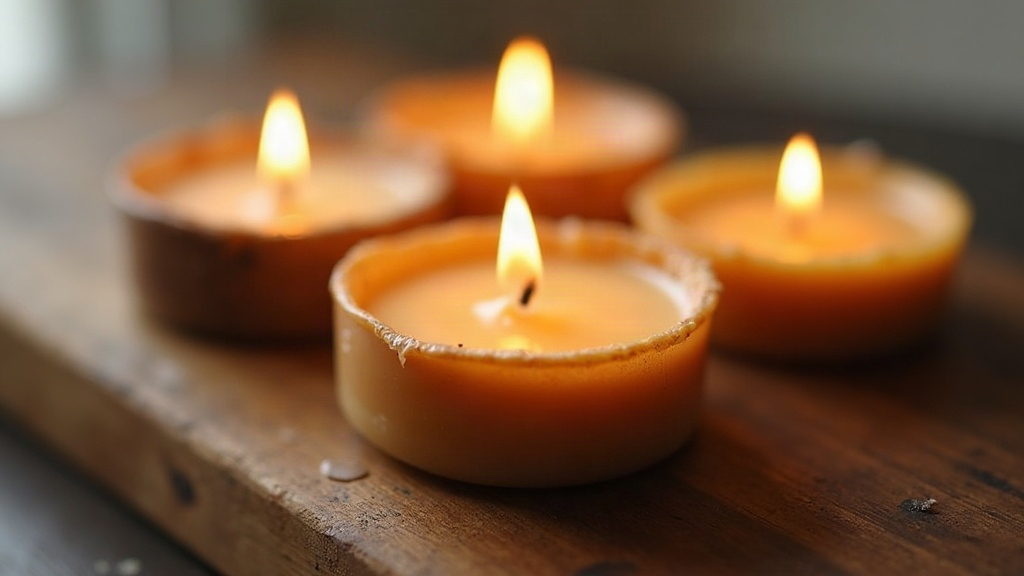
Beeswax and coconut oil are about as close as you get to the gold standard for a clean, non-toxic tealight with zero paraffin in sight. This two-ingredient recipe burns longer and cleaner than anything you’ll find at the grocery store, with a soft honey aroma drifting off the wax instead of synthetic fragrance oil and petroleum byproducts. Below are the exact ratios, the right wick size, step-by-step instructions, and fixes for the two mistakes almost every beginner makes on their first batch.
Why Skip Paraffin?
Paraffin comes from petroleum, and when it burns it can release compounds like toluene and benzene into your indoor air. That’s reason enough for a lot of candle makers to jump ship to plant- and insect-based waxes instead.
- Beeswax burns slowly and releases negative ions as it goes, which has a mild air-purifying effect.
- Coconut oil softens the beeswax so it melts evenly out to the edges instead of tunneling down the middle.
- Together they give you a bright, steady flame, barely any soot, and no synthetic fragrance masking things.
Just two ingredients (plus an optional splash of essential oil) make this one of the easiest candle projects a beginner can start with.
What You’ll Need
- 70 g yellow or white beeswax (pastilles melt the fastest)
- 30 g coconut oil (refined is odor-neutral; unrefined brings a faint coconut scent along with it)
- 6–8 pre-tabbed tealight wicks (cotton or wood, sized “tea light” or “TL 15–18”)
- Tealight cups (polycarbonate or aluminum both work fine)
- Double boiler or a heat-safe glass pitcher plus a saucepan
- Thermometer
- Optional: 10–15 drops of essential oil
The Ideal Ratio
The most reliable starting point is a 70:30 beeswax-to-coconut-oil ratio by weight.
| Ratio | Result |
|---|---|
| 80:20 | Firmer tealights, slightly dimmer flame, longest burn |
| 70:30 | Balanced melt pool, bright flame (recommended) |
| 60:40 | Softest wax, best scent throw, but can melt in warm rooms |
Live somewhere hot? Stick with 80:20, or just keep your finished tealights in the fridge.
Step-by-Step Instructions
1. Melt the Wax
Add the beeswax and coconut oil to your double boiler and heat gently over low-medium, stirring now and then. Beeswax melts around 62–64°C (144–147°F), so aim to hold the mixture at 70–75°C (158–167°F). Don’t push it past 85°C (185°F): the wax darkens and the natural honey scent cooks off.
2. Add Essential Oil (Optional)
Pull the pot off the heat and let it cool to about 65°C (150°F) before stirring in 10–15 drops of essential oil per 100 g of wax. Add it while the wax is still too hot and you’ll just burn the fragrance away. Lavender, cedarwood, and sweet orange all play nicely with beeswax’s honey undertone.
3. Secure the Wicks
Drop one pre-tabbed wick into each tealight cup. If the tab won’t sit flat, add a tiny dab of melted wax underneath and press it down. A chopstick balanced across the cup, or a proper wick holder, keeps things centered while you pour.
4. Pour
Pour at around 60–65°C (140–150°F), filling each cup until the wax sits just below the rim, roughly 8–10 g per standard tealight. Leave a small gap near the top so nothing overflows once the wax contracts as it cools.
5. Cure and Trim
Let the tealights sit at room temperature for at least 4–6 hours, overnight if you can manage the patience. Trim the wick to about 5 mm (1/4 inch) before lighting it the first time. Skip this step with a cotton wick and you’ll get a tall, sooty flame instead of a clean burn.
Troubleshooting Common Problems
- Tunneling (wax won’t melt to the edges): Your wick is undersized. Go up a size, or nudge the coconut oil ratio up a bit.
- Wax cracking or sinking: Beeswax shrinks as it cools, that’s just physics. Pour a touch cooler (60°C), or do a second top-up pour once the first layer sets.
- Weak scent throw: The oil went in too hot, or there wasn’t enough of it. Stay in the 6–10% fragrance load range and add it below 70°C.
- Candle melts in warm weather: Drop back to the 80:20 ratio and keep finished tealights somewhere cool.
Burn Time and Storage
A standard 10 g beeswax-coconut tealight burns for roughly 3–4 hours, noticeably longer than the paraffin tealights sitting on a supermarket shelf. Keep finished candles out of direct sunlight; it fades the yellow of the beeswax and softens the coconut oil over time.
Conclusion
A beeswax and coconut oil tealight is about the simplest way to enjoy candlelight without paraffin, synthetic fragrance, or whatever else is hiding in a mystery wax blend. Get the 70:30 ratio right, match the wick size to your cup, and give it a proper cure, and you end up with tealights that burn clean, last longer, and smell faintly of honey. Run one test batch first, take notes on how your wick and room temperature behave, and from there you’ll have a recipe you can repeat without thinking twice about it.